Understanding Radon Mitigation Cost: What Homeowners Should Expect
@getradonmitigationcosthaven
October 10, 2026 · 7 min read
What Drives the Price of a Radon Mitigation System
When I first started working with radon in the St. Louis area, most homeowners had no idea what a radon mitigation system even looked like. They would call after a real estate transaction flagged high levels, and the first question was always about the radon mitigation cost. That is a fair question, because unlike a new water heater, you cannot see radon. You are paying for something invisible, and that makes people nervous. Over the years I have learned that the best way to address that nervousness is to explain exactly what goes into the work and why the price varies from house to house.
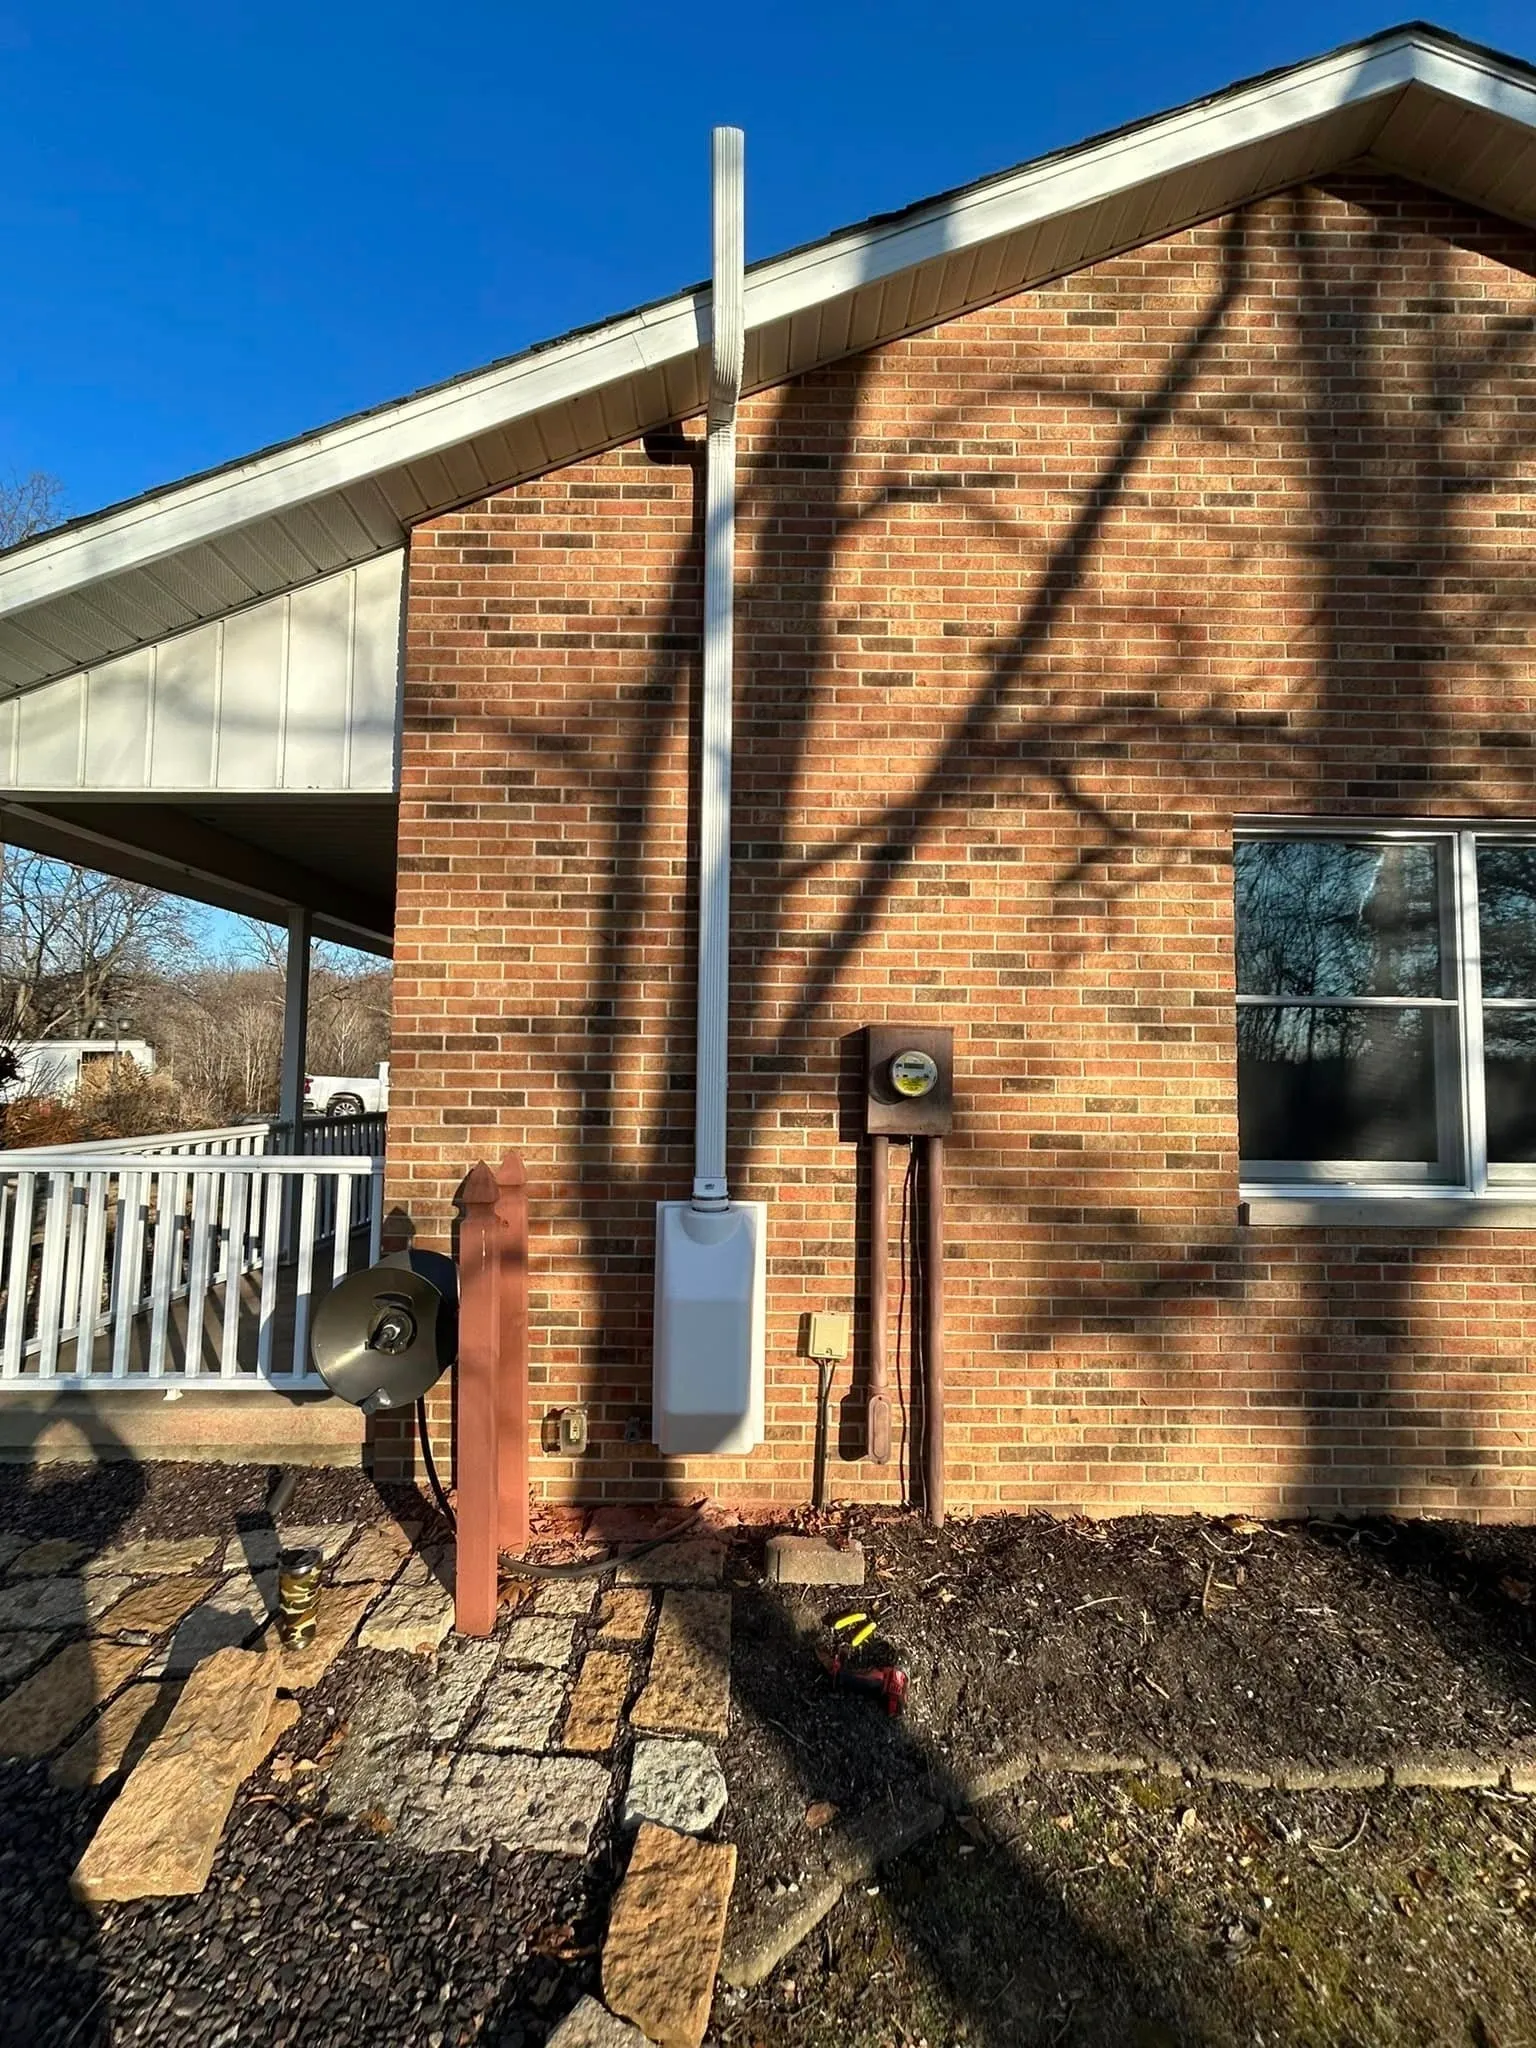
The core of most residential systems is sub-slab depressurization. A contractor drills a hole through the basement floor, pulls soil gas from beneath the slab, and vents it above the roofline using a radon fan. That fan runs continuously, creating a vacuum that prevents radon from being drawn into the living space. The radon mitigation cost for this type of system typically falls in a range that depends on the house's foundation type, the number of radon entry points, and the difficulty of running the vent pipe. A simple slab-on-grade with an accessible pipe chase is a different job from a house with multiple crawl spaces and a sump pump pit that needs to be sealed.
Foundation Type and Its Influence on Price
I have seen estimates that make sense only when you understand the foundation. For a standard basement with a poured concrete floor, the work is straightforward. The crew cuts a small hole, inserts a pipe, and seals around it with a high-quality sealant. That sealant matters more than most people think. A poor seal around the pipe or around cracks in the floor defeats the whole system. The cost of the sealant itself is minor, but the labor to properly clean and apply it adds time. On the other hand, a house with a crawl space is a different animal. You cannot install sub-slab depressurization in a crawl space the same way. Instead, you might need to lay a vapor barrier over the dirt floor and install a vent pipe that connects to a radon fan mounted outside or in the attic. The extra material and labor for the vapor barrier and the careful sealing of the crawl space perimeter raise the radon mitigation cost noticeably.
Houses with sump pumps present another wrinkle. A sump pit is often a direct radon entry point because the pit is open to the soil. The mitigation strategy there involves sealing the pit cover and running a separate suction line to that area. I have seen contractors try to shortcut this by just covering the pit with a piece of plastic, but that never holds. A proper solution uses a gasketed cover and a dedicated pipe connected to the main system. That adds a couple hundred dollars to the total, but it makes the difference between a system that works and one that does not.
The Role of Post-Installation Verification
One of the most important steps after any installation is post-installation verification. A good contractor does not just install the system and leave. They test to confirm that radon levels have dropped below the EPA action guideline of 4 picocuries per liter. This is typically done with a continuous radon monitor that runs for at least 48 hours. I have seen situations where the initial test after installation showed levels still above 4 pCi/L, and the crew had to go back and find additional entry points to seal. That kind of follow-up is part of a responsible installation, and it is one reason a cheap bid might not be the best deal. A low price that skips verification or uses a cheap radon test kit that gets lost in the mail is not a bargain. You want a contractor who provides a written guarantee and a manometer on the system so you can see that the vacuum is holding.
Active Soil Depressurization Versus Other Methods
Active soil depressurization, also called sub-slab depressurization, is the most common and effective method, but it is not the only one. Some older homes have block walls that allow radon to enter through the mortar joints. In those cases, the system might include suction points in the wall cavities as well as under the slab. That adds complexity and cost. I have also worked on houses with a pipe chase that runs from the basement to the attic, which makes the vent pipe installation easy. That can lower the radon mitigation cost because the crew does not have to cut through finished walls or run pipe on the exterior of the house. Every house has its own geometry, and the price reflects that.
Radon-Resistant New Construction as a Cost Saver
For people building a new home, radon-resistant new construction is a smart investment. It involves placing a layer of gravel under the slab, a vapor barrier, a vent pipe, and a sealed sump for future fan installation. The incremental cost during new construction is relatively small, especially compared to retrofitting a system later. I have seen retrofit jobs that cost three times what the same system would have cost if it had been planned during the build. The radon stack effect is real: warm air rising in a house pulls soil gas from the ground. If the house is built with a passive vent stack already in place, the radon fan can be added easily if testing shows it is needed. That approach saves money and avoids the disruption of drilling through an existing floor.
Comparing Estimates: What to Look For
When you get estimates for a radon mitigation system, look beyond the bottom line. A low bid might mean the contractor plans to use a smaller radon fan than needed, or skip the post-installation verification, or use a cheap sealant that dries out and cracks within a year. A high bid might include unnecessary extras. What matters is that the estimate includes a clear scope of work: the type of fan, the pipe routing, the sealing plan, and the verification method. I recommend asking for a vacuum gauge reading after installation. A manometer or vacuum gauge tells you that the system is actually pulling suction under the slab. Without that reading, you have no way to know if the system is working. Companies like Air Sense Environmental in St. Louis provide that level of detail, and it is worth paying for.
Long-Term Costs and Maintenance
Once the system is installed, the ongoing costs are low. The radon fan runs continuously and uses about as much electricity as a 40-watt light bulb. The fan itself will eventually wear out, typically after five to ten years, and replacing it costs a few hundred dollars. The rest of the system is passive. You should check the manometer monthly to make sure the vacuum is still holding. If the reading changes, it could mean a pipe has been knocked loose or the sealant has failed. That kind of check takes thirty seconds and keeps the system reliable. Some homeowners also choose to do periodic follow-up testing with a continuous radon monitor to verify that levels remain low. That is a small expense compared to the health risk of living with high radon.
Final Thoughts on Budgeting for Mitigation
I have seen families spend thousands on kitchen renovations and then balk at the radon mitigation cost, which is usually a fraction of that. Radon is the second leading cause of lung cancer in the United States according to the EPA, and it is preventable. The radon mitigation cost should be viewed as a health expense, not a home improvement luxury. If you are in the St. Louis area and you have tested your home, you owe it to yourself to get at least two detailed quotes. Ask about the fan brand, the warranty, and the post-installation testing. A well-designed system will last for decades with minimal upkeep. The peace of mind that comes from knowing your family is breathing clean air is worth the investment.